Lightroom is the go-to software for most photographers these days and it just keeps getting better. It is intuitive and easy to learn so most photographers are happy with that. In the old days, editing your pictures required using Photoshop to a much greater extent. Although super powerful, Photoshop is not intuitive and is difficult to learn.
Nowadays, when you get the Photography Plan from Adobe to get Lightroom, you also automatically get Photoshop as part of the package. So if you have Lightroom, you also already have Photoshop as well. So you have Photoshop – the question is: when should you use it?
The answer will vary a little bit by person. In addition, things continue to change so this advice might be outdated at some point in the future. But the fact is that Photoshop is just better at some things than Lightroom. There are some times you should use it – and you can do so while limiting how much you need to learn about using Photoshop. Here is when I find it is best to use it:
1. For the Cloning and Healing Tools

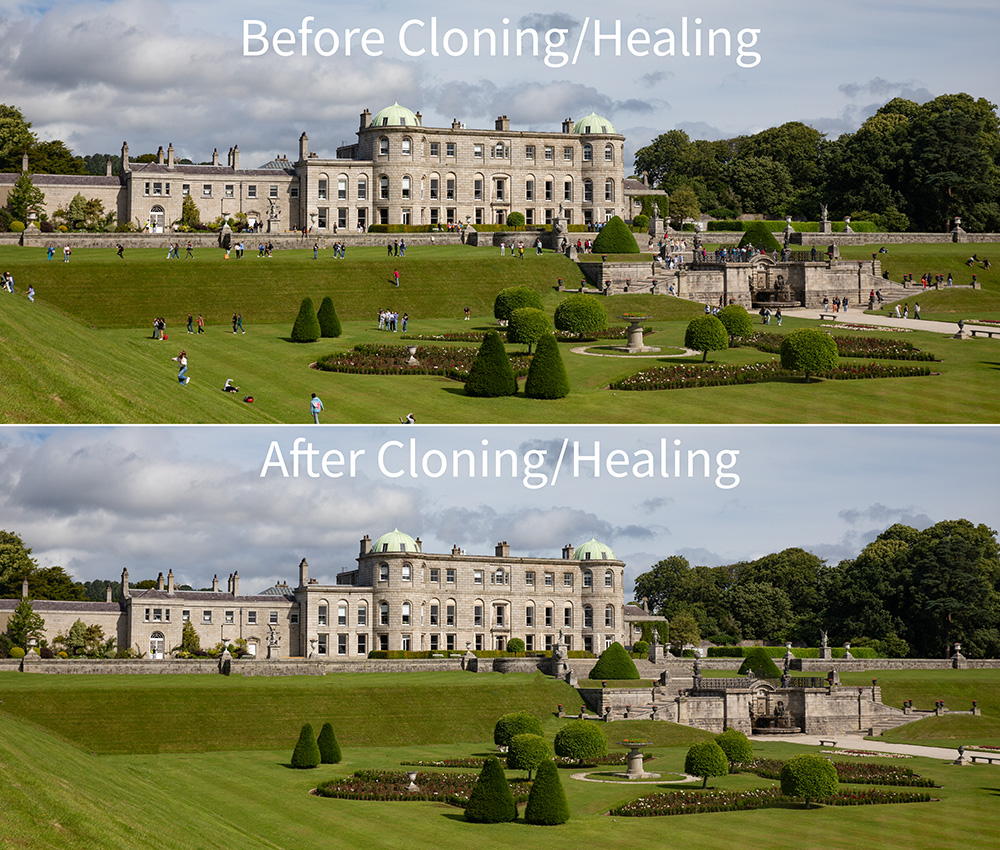
Lightroom has a cloning and healing function. However, it is garbage and I would not recommend using it for anything other than the simplest of dust spots in your picture.
On the other hand, the cloning and healing tools in Photoshop are truly magical. If you are not already familiar with them, try using the Spot Healing Brush. You literally just select it and then click on the item you don’t want in the picture. Photoshop removes that item and fills in the background for you. In the past this led to mixed results but the results these days are usually shockingly good.
My advice to you is that whenever you need to do any cloning or healing you go into Photoshop. Create a new layer (Ctrl+J) and make your changes on it. As mentioned above, start with the Spot Healing Brush, even for substantial changes. Where that tool doesn’t do exactly what you want fill in using the Clone Stamp Tool. You’ll have a much better time than if you try to use Lightroom for this.
2. For Transforming the Shape of Images
Lightroom has some good tools for changing the shape of your image, contained in the Transform section of the Develop module. If you want to do something simple, such as fix the perspective distortion where tall buildings appear to be converging together at the top, Lightroom will do a good job for you. But this is another area where Photoshop excels.
In Photoshop you can do nearly anything, largely courtesy of three tools: (1) the Distort tool, (2) the Warp tool, and (3) the Liquify tool. Here are some ways you might use them:
- Fix vertical distortion (like converging buildings) with the distort command. Make a selection of the entire image (or press Ctrl+A) then go to Edit > Transform and select Distort. When you do so there will be little dots on the corners and edges of your picture. You can drag them around to transform your image.
- Adjust specific parts of the image via the Warp tool. If you make a selection and use the Warp tool instead it will give you even greater flexibility for adjusting parts of your image. Rather than only working on the corners and edges, the Warp tool lets you pull up or down on specific parts of your image. I use this quite a bit to fix barrel distortion, for example.
- Make something bigger or smaller using the Liquify Tool. Want to make a mountain in the background a little bigger? The liquify tool is your huckleberry. It takes a little practice and you can’t get too aggressive with it, but it can really help reshape your photos. Go to Filters > Liquify and then use the brush tool in the resulting dialog to make your changes.
- Extend some or all of your image. Let’s say you have an image with an uninteresting foreground you want to marginalize but not crop out. First, extend the canvas of the top portion of your picture to add space. Do that by going to Image > Canvas Size and then increasing the height (and use the Anchor arrows to indicate where you want it extended). After doing that, select the portion of the image you want to expand and use the Distort tool to make it taller.
- Compress some or all of your image. You can do the converse too. Start by selecting the portion of the image you want to compress then use the Distort tool to do so. When you’re done crop away the area that you didn’t use.
I’ll try to get into more specifics about these techniques later. The idea for now is simply to give you an idea of the power of Photoshop to control the shape of your picture. This power is another reason you may find yourself using Photoshop rather than Lightroom.
3. When Using Plug-Ins

There is a lot of other great software out there and both Photoshop and Lightroom work well with this other software. In fact, most of them will work “within” Lightroom or Photoshop, so we refer to them as “plug-ins.”
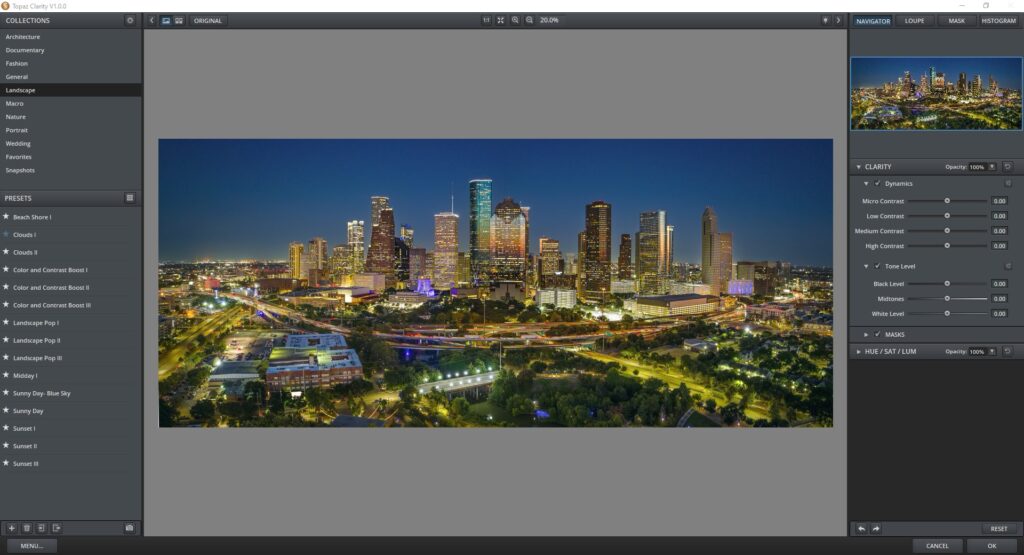
There are a variety of great plugins on the market from companies like Topaz, On One, etc. While they will work within Lightroom or Photoshop, I think it best to use them within Photoshop. The reason is that you can put the changes on a new layer and blend in the effect to whatever degree you wish.
For example, I frequently use Topaz Clarity to enhance my images. However, I never apply the effect in full to all of my image. Rather, I blend it in to certain select portions of my image where I want to draw out more detail and leave it off other blank areas. I do this by creating a new layer (Ctrl+J) before using the plugin. Then I apply whatever changes I’m going to make in the plug-in. When I am done and the picture goes back into Photoshop, I then create a Hide-All layer mask (Layer > Layer Mask > Hide All). Use a Brush at a low opacity to blend in the change where you want it, while excluding it for other parts of the image.
4. To Use Adjustment Layers (and the Brush)
Lightroom excels at making tonal adjustments so usually you won’t need to use Photoshop for making changes to tone. Sometimes I still do though.
The times I use Photoshop for tonal adjustments are when I want to make a more extreme change or I really want to take full control of where the change is applied. I still find there is no better tool for this than a Curves Adjustment Layer combined with the Brush tool. I simply create the effect using the Curves Adjustment Layer then invert my mask (Ctrl+i) so you don’t see it. I then put my brush at a very low opacity and blend in the effect where I want it. Despite the power of Lightroom I still find there’s no better technique than this.
5. Adjusting Color via the LAB Color Space

Most simple color adjustments can be made in Lightroom. In fact, I’d take that a step further and say that even more involved changes to color can be made in Lightroom. For example, beyond simple Saturation and Vibrance adjustments, you can use the individual color sliders in the HSL/Color controls to target individual colors. You can also use the white balance controls to adjust the temperature and tint of the picture or discrete areas of the picture.
Lightroom’s color controls have some limitations though. For example, in the new masking tools you cannot control the individual colors. In fact, there isn’t even a Vibrance command in the masking tools. So, while the color controls in Lightroom are very powerful (and improving) they are still not ideal. You may occasionally need to go into Photoshop for color enhancements.
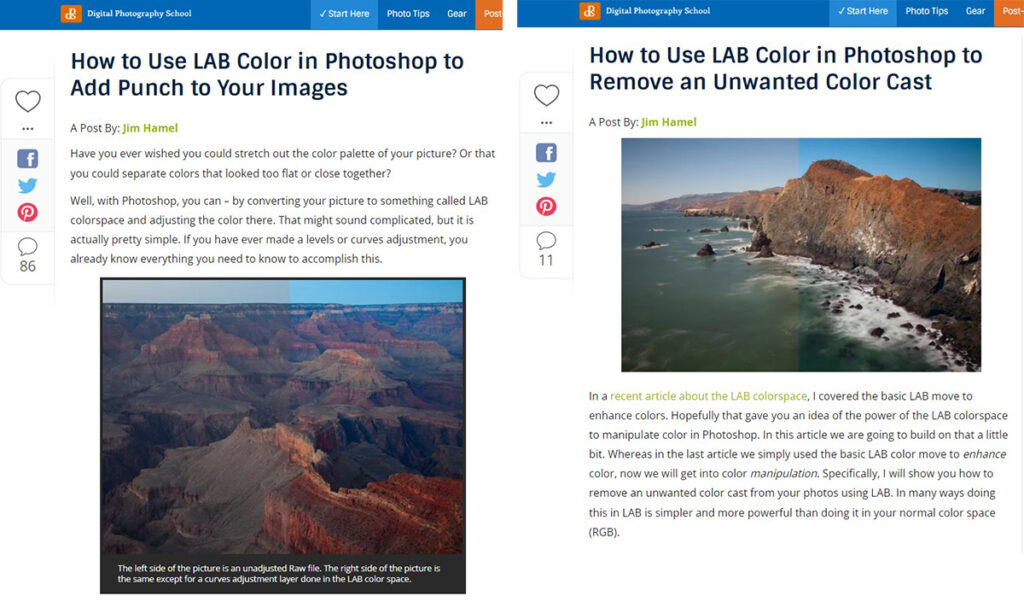
One thing you cannot do at all in Lightroom is access the LAB color space. This is a rather specialized technique, but I personally use it all the time.
Rather than get into it here let me point you to two articles I wrote on this long ago for Digital Photography School. The first article gets into the basics of the LAB color “move.” The second article gives you more techniques for using the LAB color space.
6. Printing

For most printing, the print module in Lightroom will work just fine. But honestly, I rarely use it.
The main things you will want to do when taking your edited photo and making it into a print are (1) set the size, and (2) adjust the brightness. When it comes to setting the size, while you can do this in Lightroom, I find it more precise and easier to do in Photoshop. I do this in the Image menu by choosing image size (or Alt+Ctrl+I) which brings up a dialog box that you use to set the exact size of the picture.
Next you will want to adjust the brightness of your print. It always surprises newer photographers (or at least those new to printing) that their prints come out much darker than what they see on their computer monitor. This is because the image on your monitor is backlit. In addition, most monitors are set too brightly by the manufacturer because they know that we like that. So when you make the picture look good on your screen when you put it down on paper it will be much too dark.
There are different things you can do to adjust for this. For example, you can get a monitor calibration device but this is expensive. Lightroom has its own solution which is the print adjustment sliders at the very bottom of the Print module controls. By adjusting these two controls, you can make your print brighter and/or more contrasty so that it better matches your monitor.
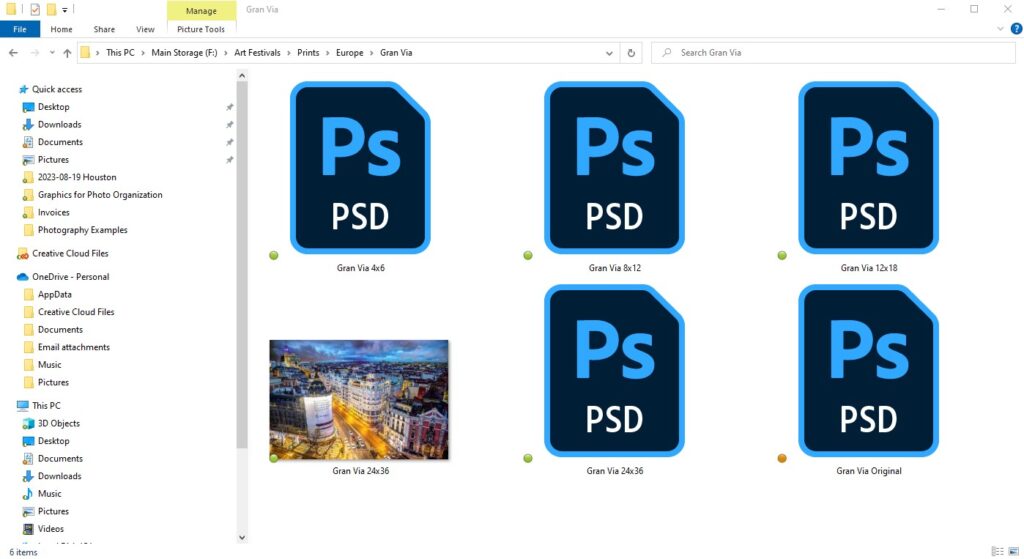
I don’t use that feature and I also don’t calibrate my monitor (I like it nice and bright). I have a decidedly low-tech solution for making your pictures look bright in Photoshop. It is to go buy yourself some cheap 4×6 photo paper and just make a small version of your print. Then make an adjustment to make your picture look better and try again. Try as many times as you need to. I typically do it four to six times until I’m happy. When you’re done however, you will have a print that you know looks good whether you make it or you send it out to a photo lab. Further, this process costs very little since 4×6 paper is very cheap and the small size uses very little ink. Once I have the file looking good I simply save it and can always come back to it whenever I need to make a another print of it.
Wrap Up: When Should You Use Photoshop Instead of Lightroom?
Most people try to limit their exposure to Photoshop because the learning curve is too steep. They aren’t wrong. But by limiting your use of Photoshop to discrete items such as these, you limit how much you need to learn. You can take advantage of these areas where Photoshop truly excels, but continue to use Lightroom for everything else. That way you keep things simple but still take advantage of the power of Photoshop when it might help you.
These are my recommendations for when you should use Photoshop, but this will vary a little bit from person to person. For instance, my print methodology is rather peculiar to me because I make many versions of the same prints to sell at art festivals and the like. If you’re just making one copy for your wall, my technique might not be suitable for you.
So use these as you see fit but otherwise enjoy the increasing power, utility, and intuitiveness of Lightroom.
